
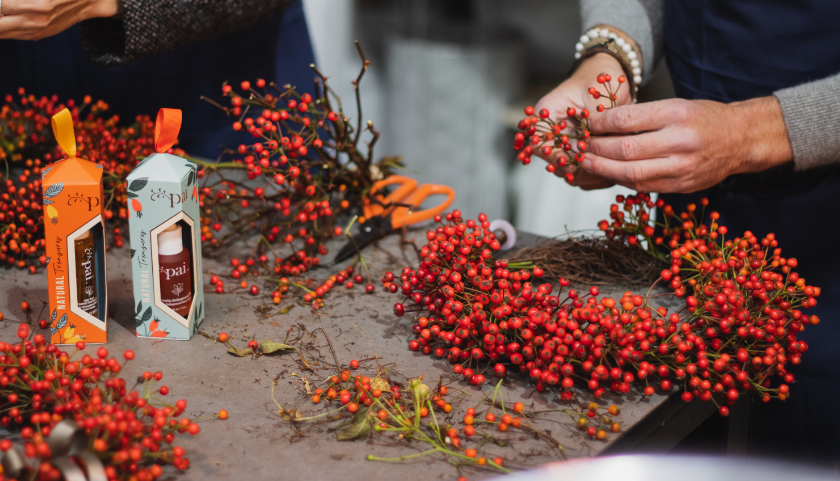
It’s no secret that we’re huge fans of the humble Rosehip. It’s one of the hero Natural Treasures we’ve paid tribute to in our Christmas Gift Sets this year. So when it came to making our very own Christmas wreaths, we wanted to find a way to incorporate our wonder flower into the mix. So we spent the day with one of London’s longest-serving and most-loved florists Hayford & Rhodes, to create our very own Rosehip wreaths.
Whilst watching them work their magic on our wreaths, the brilliantly-talented team there explained: “The rosehip is nature’s most beautiful by-product, glorious in its own right. We source our rosehips from a Hampshire Farm, homegrown free from pesticides, nurtured purely with organic fertiliser. They make the perfect choice for a winter wreath, as they’re a hardy berry with a beautiful rosy red hue. By nature, they will dry to a paler peachy tone whilst holding on to their berries to ensure longevity through the season.”
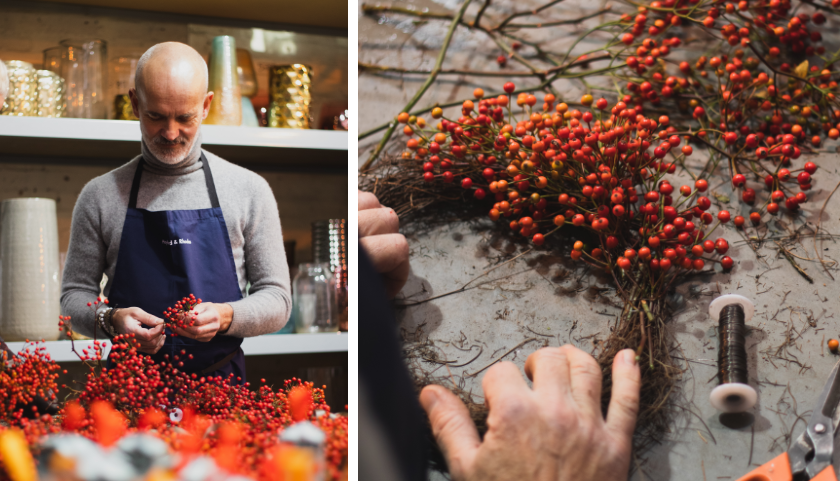
Ready to let the beautiful Rosehips work their magic not just on your skin but on your front door too? The Hayford & Rhodes teams have helpfully created this step-by-step guide, so you can get crafting your very own version at home.
Step One: Gather Your Materials
“Part of the pleasure of making your wreath is finding the products, readily available from nature during Autumn and Winter. Simply forage your pliable twigs and rosehip stems on a wintery walk or source them through your local florist. Be sure to wear gloves when gathering your bounty. You’ll also need scissors/secateurs, reel wire, pliable twigs like Salim or Birch, 20 – 30 Rosehip stems, ribbon and clear nylon thread”

Step Two: Form Your Base
“For a completely natural wreath ring, form a soft circle, approximately 25cm, with the pliable twigs. Bind them into place with the reel of wire making sure not to over-bind. This will help retain the twigs’ natural form.”

Step Three: Prepare The Rosehips
“Remove the majority of the leaves from your rosehip stems and snip 8cm florets from each branch.”
Step Four: Attach The Rosehips
“Begin forming your wreath by twisting a loop of your reel of wire on to your base. Lay your first floret of rosehip onto the twig base. Then wrap the wire around the rosehip stem and the wreath to ensure it is secured into place. Lay another rosehip bundle onto the previous stem and again secure into place. Follow this system until you have covered 90% of your frame with rosehips.”
Tip: As you successively add more rosehips to the wreath, ensure they are all facing in the same direction. Each successive floret you add should cover the stems of the previous placement to give a full look to your design.
Step Five: Finishing Your Wreath
“As you near the end of your wreath, tuck the stems of your last rosehip bundle into the rosehip berries of your first placement to give a neat finish. Loop the reel of wire through the rosehip stems and secure into place on your twig base. Make sure that the wire is held tightly in place to guarantee your wreath and all its materials stay secure.”

Step six: Complete With Ribbon
“Tie a ribbon around your newly finished rosehip wreath and complete with a two-loop bow. Then all that’s left to do is to hang your wreath with clear nylon thread, stand back and admire your handywork!”
—
For more festive inspiration or to find the perfect bunch of flowers to gift this Christmas, follow Hayford & Rhodes on Instagram, Facebook or visit their website HayfordandRhodes.co.uk.

Receive other tips & news like it…